
Ragi paniyaram recipe with step by step photos. Learn how to make ragi paniyaram, easy no soak, no grind healthy snack with this easy recipe today.
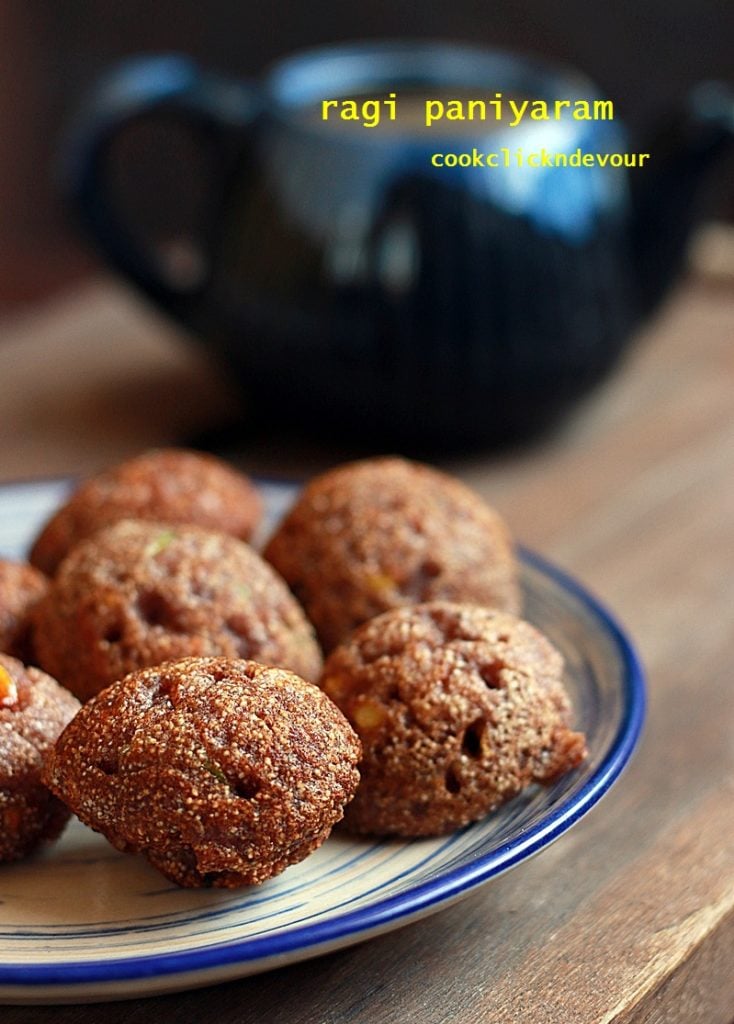
Ragi paniyaram recipe with store bought sprouted ragi flour is a healthy snack you can make for toddlers and kids. Loaded with vegetables, ragi paniyaram recipe is a wholesome snack or breakfast served with chutney. I have not used any fruit salt or baking soda to make this ragi paniyaram recipe. I have added just 2 tablespoons rava to get crispy edges and that is optional.

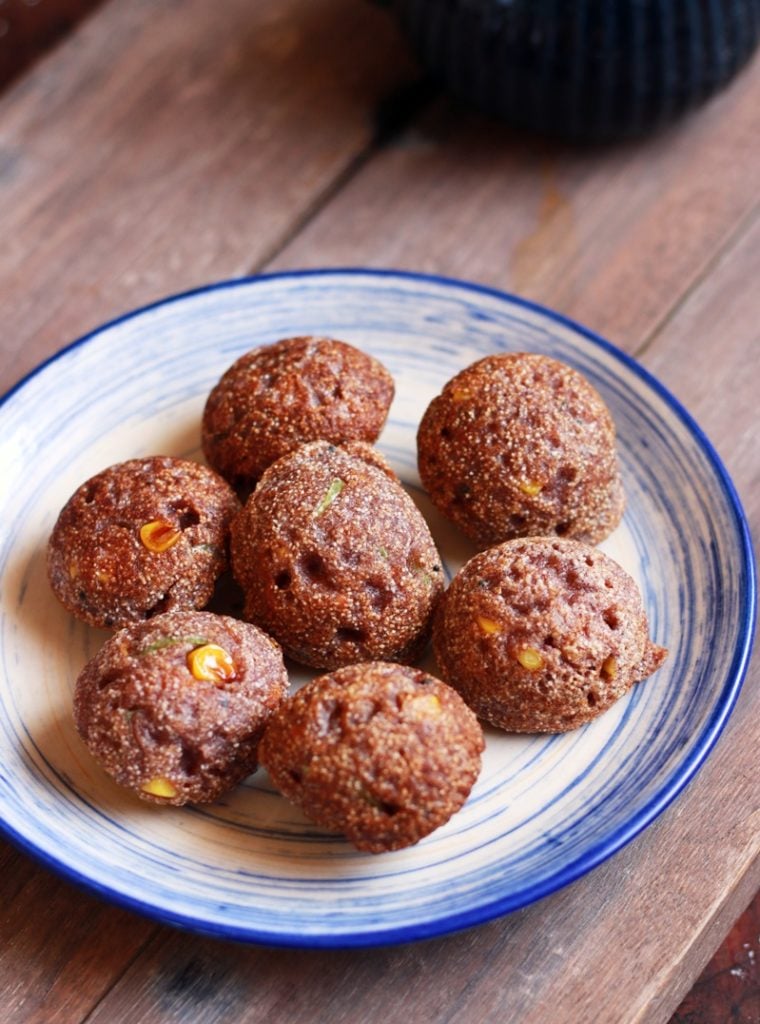
To make ragi paniyaram recipe, we need roasted ragi flour, rava, curd, salt. Adding veggies is optional. I have added carrot, sweet corn, bell peppers, onions and a tempering of mustard, urad dal, channa dal and green chilies. This ragi paniyaram is a very tasty one with crunch of veggies and roasted ragi flour is totally yum.
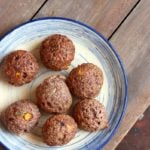
Serve ragi paniyaram hot with coconut chutney, tomato chutney or green chutney
Here is how to make ragi paniyaram recipe with step by step photos. If you are looking for more paniyaram recipes do check rava paniyaram, oats paniyaram, carrot paniyaram recipes
Step by step ragi paniyaram recipe
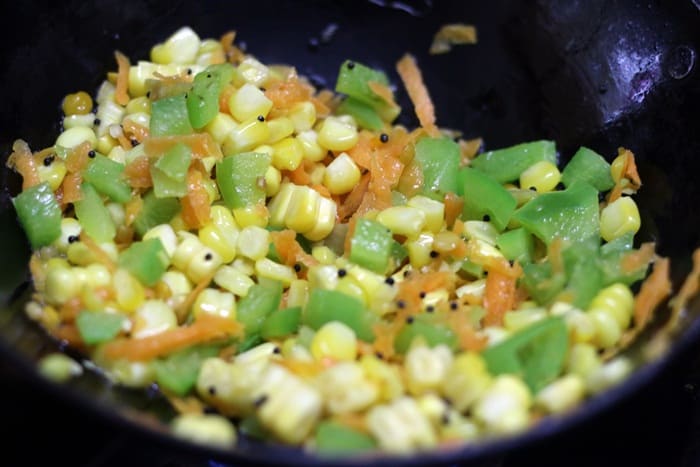
1. Heat 1 teaspoon oil in a kadai. Temper with mustard seeds, urad dal and channa dal. Add chopped green chilies,ginger and saute well. Add sliced onions and saute for 2 minutes. Add vegetables and saute for 2 minutes. Add required salt and mix well. Let cool thoroughly.
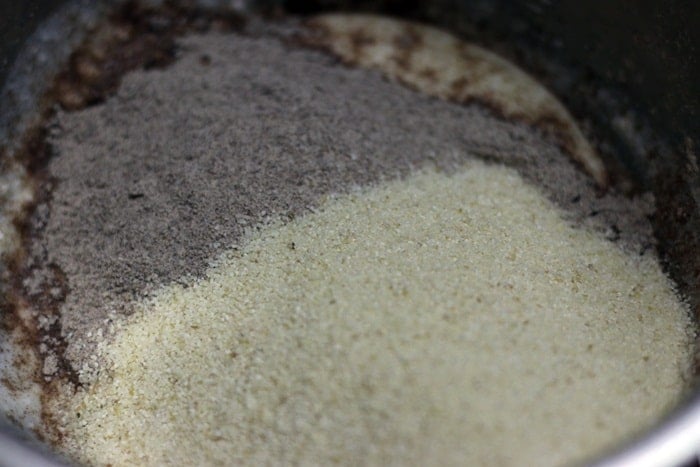
2. Take roasted ragi flour, rava in a mixing bowl. Add curd and mix well. Add the cooked vegetables and mix. Add some water if required to adjust consistency. The batter should be like idli batter.

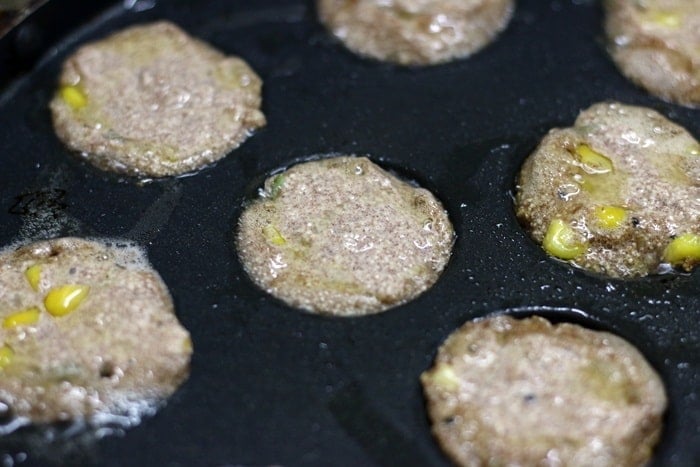
3. Heat an appe pan/ paniyara kal and add 1 drop of oil in each hole. Spoon in the batter and cook from both sides. Serve ragi paniyaram hot.
Ragi paniyaram recipe card below:
Ragi paniyaram recipe | No soak no grind ragi paniyaram recipe
1 CUP = 250 ml
Ingredients
- 1 cup roasted ragi flour
- 2 tablespoons roasted rava
- 1/2 cup thick curd well beaten
- To temper and saute:
- 1/2 cup chopped mixed veggies
- 2 green chilies
- 1 teaspoon mustard seeds
- 1 teaspoon urad dal
- 1 teaspoon channa dal
- Salt
- 1 teaspoon oil
Instructions
- Heat 1 teaspoon oil in a kadai. Temper with mustard seeds, urad dal and channa dal. Add chopped green chilies,ginger and saute well. Add sliced onions and saute for 2 minutes. Add vegetables and saute for 2 minutes. Add required salt and mix well. Let cool thoroughly
- Take roasted ragi flour, rava in a mixing bowl. Add curd and mix well. Add the cooked vegetables and mix. Add some water if required to adjust consistency. The batter should be like idli batter.
- Heat an appe pan/ paniyara kal and add 1 drop of oil in each hole. Spoon in the batter and cook from both sides. Serve ragi paniyaram hot.
janaki narasiman says
yummy healthy snack!