

Brinjal chutney or eggplant chutney with sauteed eggplants, lentils and tamarind. This is a spicy, flavorful and delicious chutney with brinjal that you can serve with rice. This is one yummy chutney that even non eggplant fans will come back for more. Here is how to make tasty brinjal chutney with step by step photos.

Brinjal Chuntney Recipe – Easy, tasty and handy!
Indian cuisine boasts of so many chutney recipes suitable for serving with rice and this brinjal chutney is just one among them. You need just a handful of pantry staple ingredients to make this chutney but it is such an intense flavor and taste.
Such chutney recipes come very handy for your rushed mornings. You can make and store this chutney for a couple of days. With slight modifications you can easily serve this chutney with idli, dosa too.
What Goes In The Making Of Brinjal Chutney?
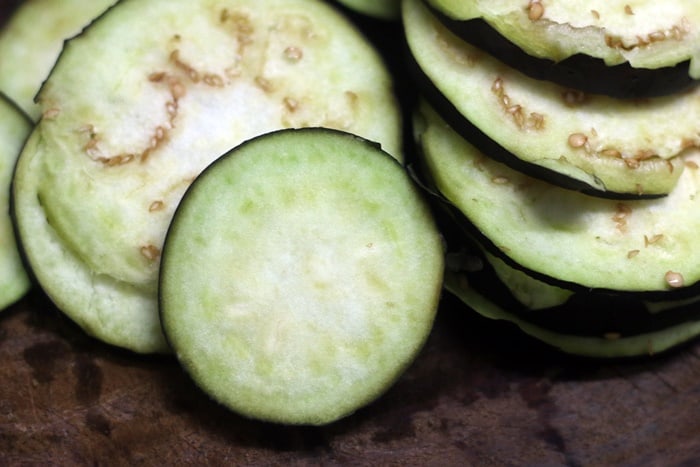
To make brinjal chutney we need urad dal, dried red chilies, tamarind apart from eggplants. I have used big eggplant here as it has less seeds. You can use any type of eggplant in this recipe though.
I prefer to use sesame oil in chutney recipes as they add flavor and also increases the shelf life.
This is brinjal chutney recipe without coconut and tomato. Please see below for variations.
How To Make Brinjal Chutney?
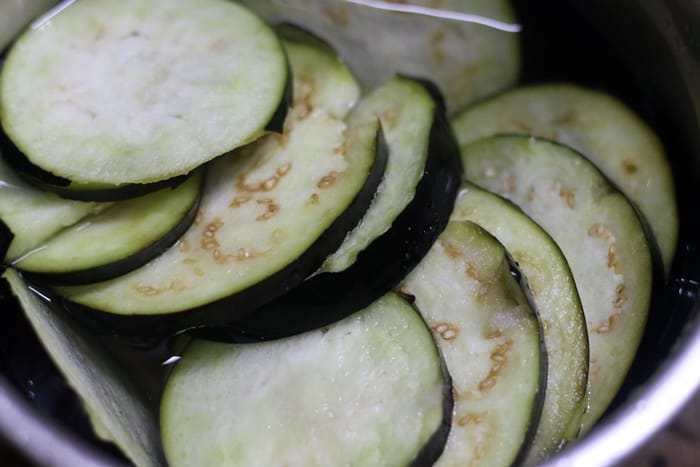
Making eggplant chutney is really simple and quick. Rinse and slice the eggplants first. Keep the chopped eggplants in salted water for 10 minutes to remove any bitterness.
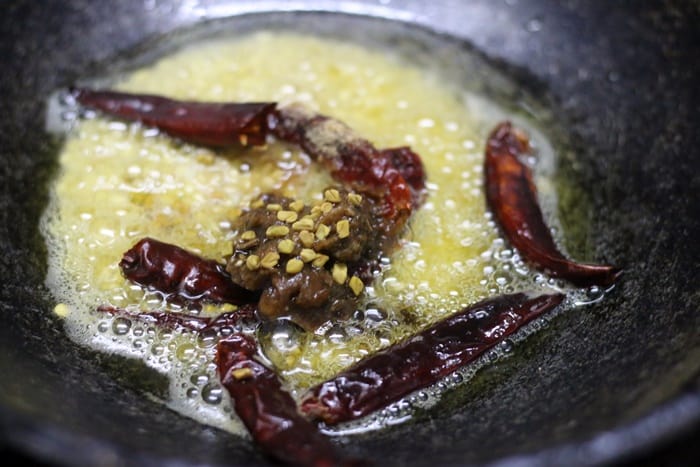
Heat oil in a pan. Fry the dried red chilies, urad dal, methi seeds and tamarind well. Next add the eggplants and saute well till they wilt and turn soft. let cool add salt and grind to a coarse chutney.
As we serve this chutney with rice, do not make it as a smooth paste. Just pulse 3-4 times to make a coarse chutney. There should be tiny pieces of eggplants in the chutney. It tastes good with rice.
Brinjal Chutney Variations:
With Tomato– You can make chutney with tomato if you want to serve it with idli, dosa. Just saute a big or two small tomatoes along with brinjal. Adding tomato will thin down the consistency of this chutney and also rounds off the flavor.
With coconut- If you want to tame down the spice and also add volume, you can saute 1/2 cup grated coconut along with eggplants and make this chutney
With Garlic- If you like you can add 2-3 garlic cloves in this chutney recipe. Just saute the garlic along with dried red chilies.
We do not usually temper the chutneys that we serve with rice. While making for idli or dosa, you can do a quick tempering of mustard seeds, urad dal, curry leaves.
Serving Suggestions:
Serve with rice, vadam or chips for a quick and comforting meal. Keeps well for 3-4 days in refrigerator.
More easy chutney recipes you might like

How To Make Brinjal Chutney Step by Step
Rinse and slice the egg plant or chop into big pieces. Keep in salted water for 10 minutes.
Heat 2 tablespoons sesame oil in a pan. Add urad dal and fry for a minute. Add dried red chilies, tamarind piece and methi seeds.
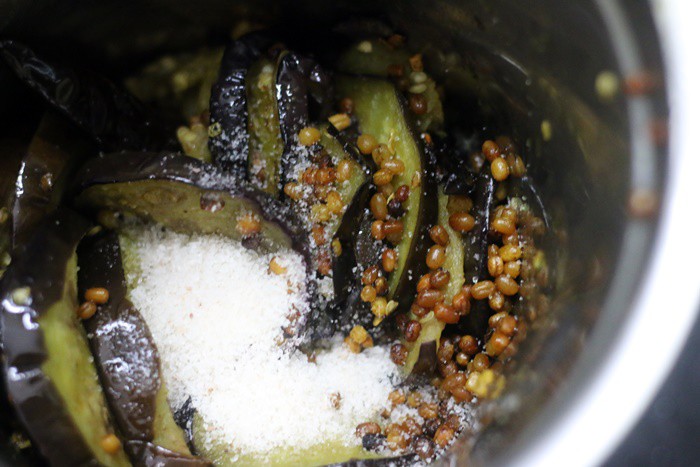
Saute well till the lentils turn golden. Add the eggplants after draining and rinsing once in water.
Saute well for 6-7 minutes. Let cool.
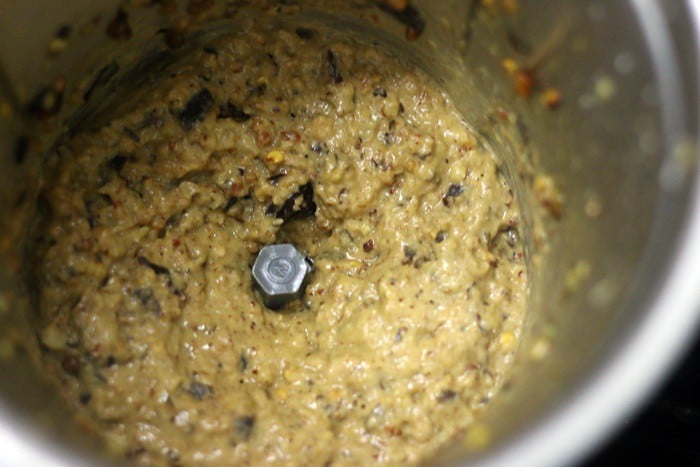
Add salt and grind to a coarse paste without adding water.
Serve brinjal chutey with rice. Store any leftovers in airtight containers.
More Brinjal Recipes
Brinjal Chutney Recipe

BRINJAL CHUTNEY RECIPE
1 CUP = 250 ml
Ingredients
- 1 big egg plant
- 2 tablespoons sesame oil
- 3 tablespoons urad dal
- 6 dried red chilies
- 1/2 teaspoon methi seeds
- 1/4 teaspoon asafoetida
- A small piece of tamarind
- Salt to taste
Instructions
- Rinse and slice the egg plant or chop into big pieces. Keep in salted water for 10 minutes.
- Heat 2 tablespoons sesame oil in a pan. Add urad dal and fry for a minute. Add dried red chilies, tamarind piece and methi seeds.
- Saute well till the lentils turn golden. Add the eggplants after draining and rinsing once in water.
- Saute well for 6-7 minutes. Let cool.
- Add salt and grind to a coarse paste without adding water.
- Serve brinjal chutey with rice. Store any leftovers in airtight containers.
Leave a Reply