
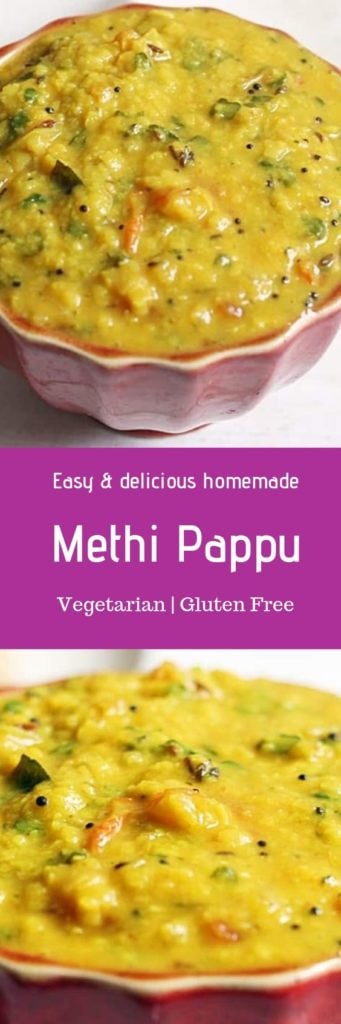
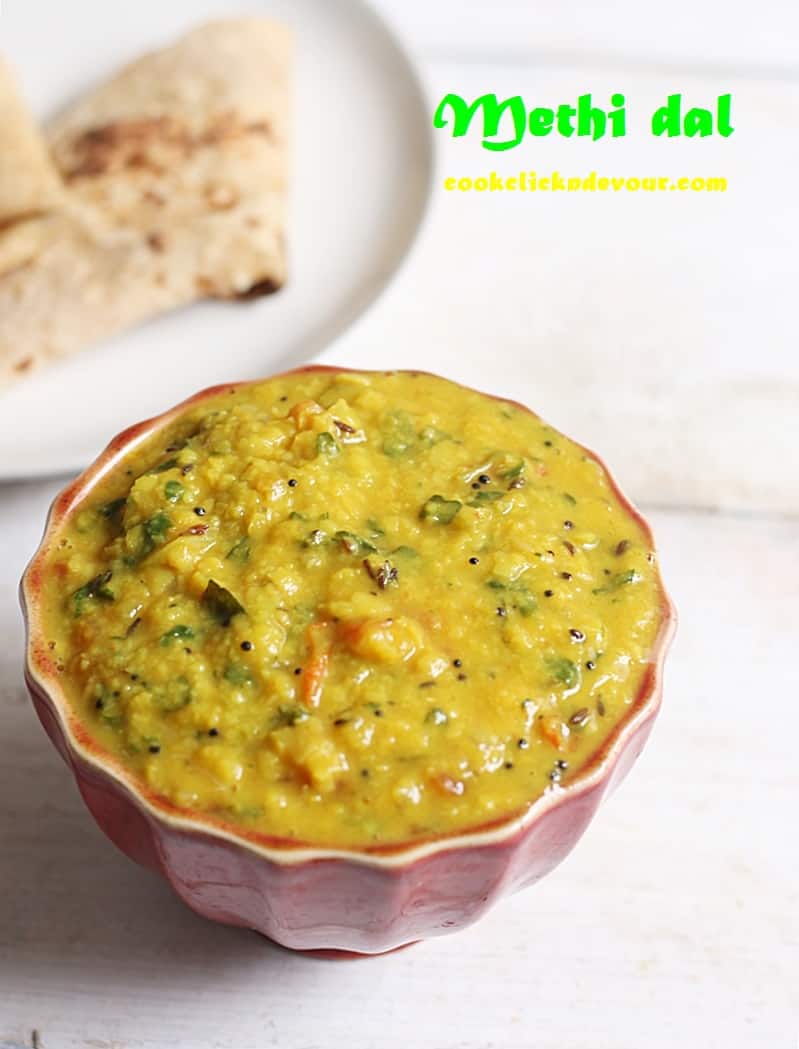
Methi dal fry recipe with step by step photos. A tasty twist to simple dal fry recipe with fresh methi leaves or fenugreek leaves. Methi leaves are commonly used in Indian cuisine and they are very healthy. I use methi leaves in cooking regularly and this methi dal is a delicious way to combine methi with dal. This healthy simple dal can be served with rice, phulka or roti. Some ways to include methi leaves in diet are methi roti, aloo methi etc. I have shared Andra style methi pappu here.
Dal is the staple food across India. There are many variations in dal recipes for increasing the nutrition. Mostly greens are added to lentils in many recipes. Dal palak, amaranth dal, methi dal are some popular dal recipes with greens. In this methi dal recipe I have used split pigeon peas or tuvar dal. You can make methi dal with moong dal, chana dal or masoor dal. A combination of two or three lentils can also be used. You can also add methi leaves in this dhaba dal
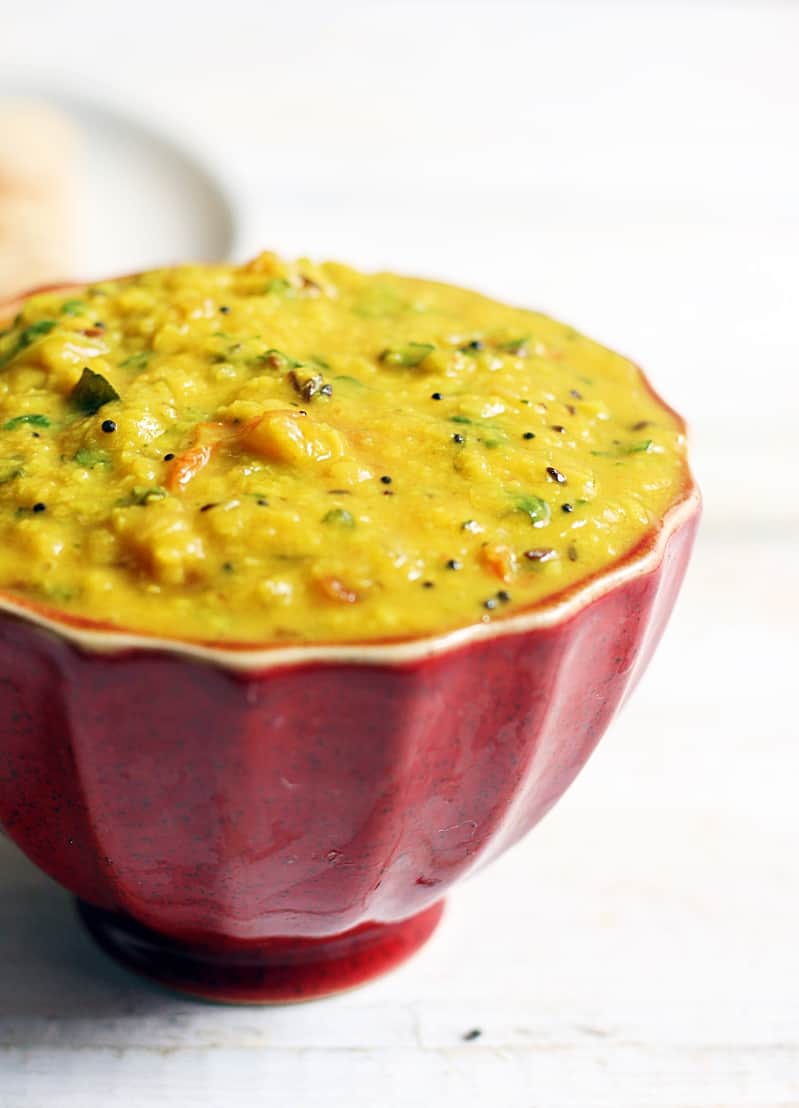
I have used fresh tender methi leaves in this dal fry recipe. the slight bitterness of methi leaves adds nice flavor to this dal. I do not prefer to squeeze the excess water from methi leaves to remove bitterness. Squeezing the water will result in nutrition loss too. To balance the bitterness you can add some tamarind while the dal is cooking. Adding a small amount of souring agent to the dal helps in absorbing the iron content well by the body.
To make methi dal fry recipe I have used a pressure cooker. This is the easiest way to make this dal with methi leaves. If you prefer you can make this just like restaurant style dal fry too. The methi leaves can be sauteed in oil or ghee and added to the cooked dal. This way overcooking of methi leaves can be prevented.You can serve methi dal with jeera rice, paratha along with a salad.
If you are looking for more methi recipes do check methi muthiya, methi paneer, methi mata malai, methi poori recipes.
Methi dal recipe card below:
Methi dal fry recipe, how to make methi dal recipe | dal recipes
1 CUP = 250 ml
Ingredients
- 3/4 cup split pigeon peas/ arhar dal/ tuvar dal
- 1 1/4 cups tightly packed fresh methi leaves
- 1 to mato finely chopped
- 1 onion finely chopped
- 1/2 teaspoon garam masala
- 1/4 teaspoon turmeric powder
- 2 green chilies
- 2 dried red chilies
- 10 curry leaves
- 1/2 teaspoon ginger crushed
- 1/2 teaspoon cumin seeds
- 1 teaspoon mustard seeds
- Salt
- 3 teaspoons oil
Instructions
- Heat 3 teaspoons oil in a pressure cooker.
- Temper with mustard and cumin seeds.
- Add curry leaves, green chilies, red chilies and crushed ginger. Saute for a minute.
- Add chopped onions and saute well till they turn soft.
- Add tomatoes, turmeric powder and garam masala. Saute till it turns mushy.
- Add the thoroughly rinsed methi leaves. Saute well.
- Pick and rinse the tur dal.
- Add to the cooker along with methi leaves. saute for a minute.
- Add 2 1/2 cups water and required salt.
- Close the pressure cook and cook up to 4 whistles.
- Open once the pressure settls down. Adjust consistency by adding some water if required.
- Simmer for a minute, add coriander leaves and mix well. Serve methi dal hot.
Nutrition
How to make methi dal fry recipe
Heat 3 teaspoons oil in a pressure cooker.
Temper with mustard and cumin seeds.
Add curry leaves, green chilies, red chilies and crushed ginger. Saute for a minute.

Add chopped onions and saute well till they turn soft.
Add tomatoes, turmeric powder and garam masala. Saute till it turns mushy.
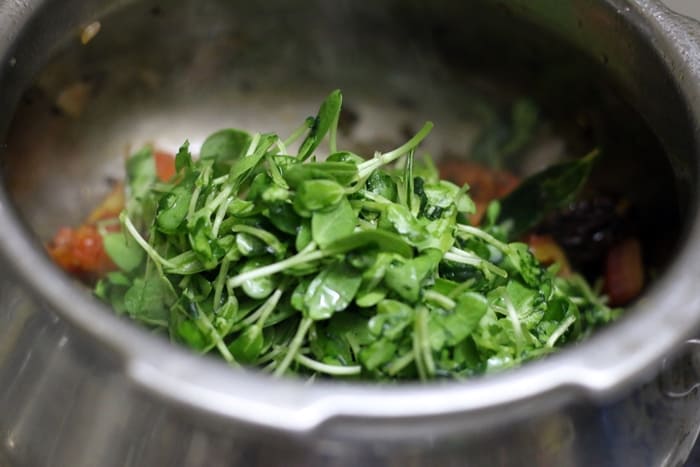
Add the thoroughly rinsed methi leaves. Saute well.
Pick and rinse the tur dal.
Add to the cooker along with methi leaves. saute for a minute.
Add 2 1/2 cups water and required salt.
Close the pressure cook and cook up to 4 whistles.
Open once the pressure settls down. Adjust consistency by adding some water if required.
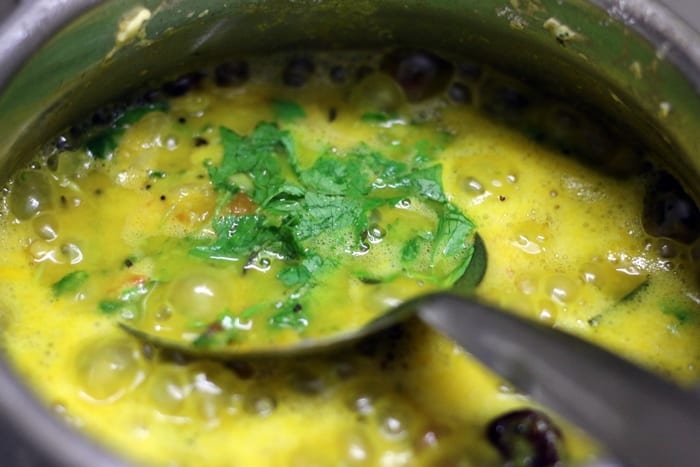
Simmer for a minute, add coriander leaves and mix well. Serve methi dal hot.
Tanya Sharma says
Love your no nonsense recipes. It is really easy for beginners like me to follow your recipes.Keep up the good work.
Anusha says
I made this methi dal with a mix of toor and moong dal. It was so comforting and hearty. Thanks!
pavitra says
I do not fresh methi leaves here. Can I use collard greens in this recipe? Looks really tempting.
Harini says
You can use any type of edible greens in this recipe Pavitra.
Harini says
Thanks Anushka.
Harini says
Thanks a lot Tanya for the positive feedback on cook click n devour.